
Cake Pops
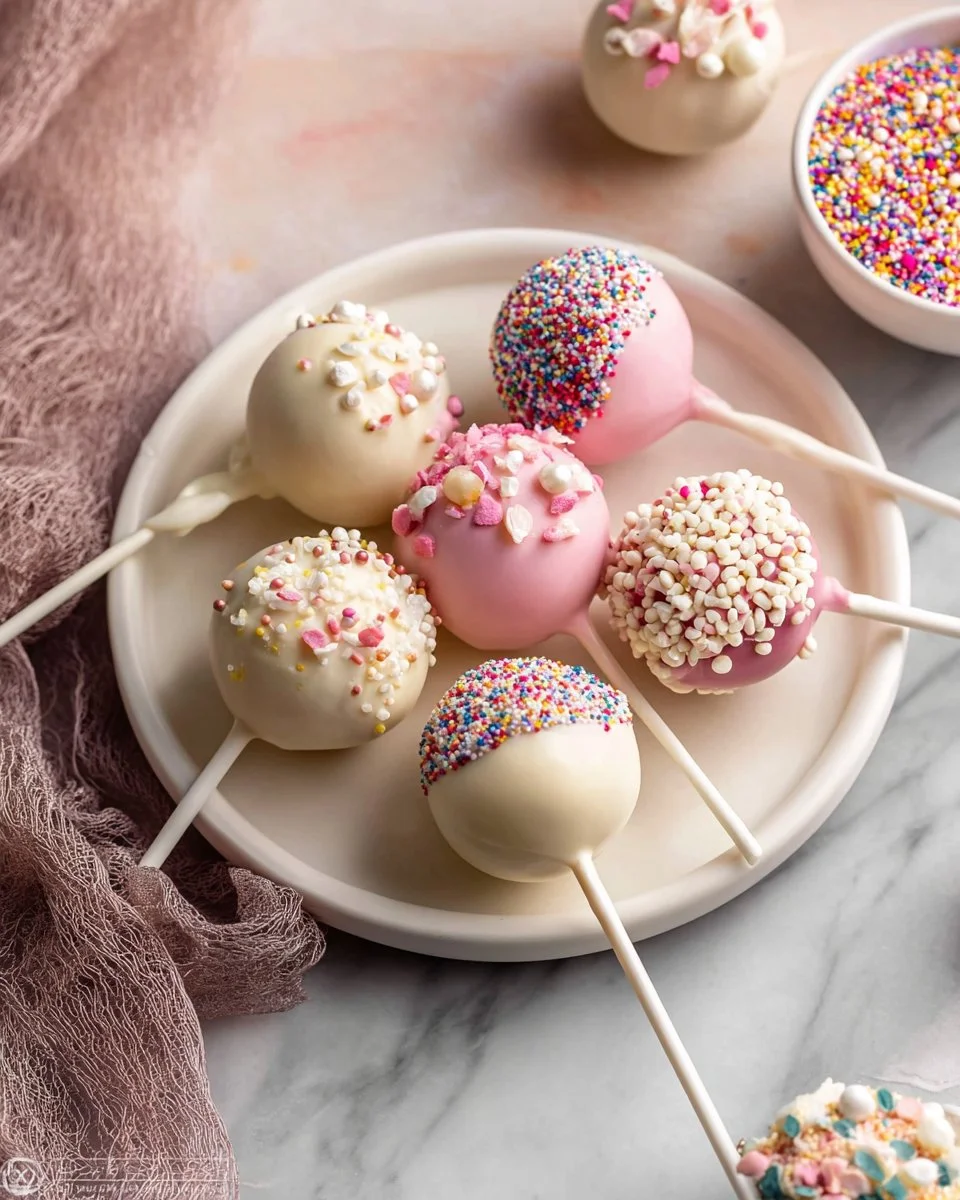
These cake pops are a cheerful, bite-sized way to enjoy cake any time of year. Soft, tender cake is mixed with a creamy, fluffy frosting, rolled into perfect little balls, and coated in a glossy candy shell that snaps pleasingly when you bite into it. The inside is moist and cake-like with a tender crumb, while the coating adds a smooth, sweet contrast and a fun crunchy texture when decorated with colorful sprinkles. The aroma is warm and vanilla-forward from the cake and frosting, with the comforting scent of butter and sugar. Cake pops are ideal for parties, holiday treats, bake sales, or a playful dessert for kids and grown-ups alike. If you enjoy simple cake projects you can adapt, you might also like the 2-ingredient orange crush cupcakes for another quick sweet bite.
Ingredients
-
1 and 2/3 cups all-purpose flour
Provides structure for the cake. Measure by spooning into the cup and leveling for accuracy. -
1/2 teaspoon baking powder
Helps the cake rise and stay light. -
1/4 teaspoon baking soda
Adds lift and works with the other leavening to give a tender crumb. -
1/2 teaspoon salt
Balances sweetness and enhances flavor. -
1/2 cup unsalted butter, softened
Adds richness and moisture. Softened butter creams best for a light batter. -
1 cup granulated sugar
Sweetens and helps create a tender texture. -
1 large egg
Binds the batter and adds structure. -
2 teaspoons pure vanilla extract
Gives a warm, familiar flavor that complements the frosting and coating. -
1 cup whole milk (or buttermilk)
Adds moisture and helps create a tender cake. Buttermilk will yield a slightly tangier crumb similar to some simple cakes like this 3-ingredient apple cake.
Frosting ingredients
-
7 tablespoons unsalted butter, softened (for frosting)
The base for the frosting that binds the crumbled cake together. -
1 and 3/4 cups confectioners’ sugar (for frosting)
Sweetens and smooths the frosting. -
2–3 teaspoons heavy cream or whole milk (for frosting)
Adjust to reach a spreadable consistency. -
1 teaspoon pure vanilla extract (for frosting)
Adds depth and a classic flavor.
Coating and decoration
-
24 ounces candy melts (or white chocolate bars, for coating)
Used to coat each cake pop for a smooth, set shell. -
Sprinkles (for decoration)
Add color and texture while the coating is still wet.
Step-by-step Instructions
-
Preheat the oven to 350°F (177°C) and grease a 9-inch springform pan. This helps the cake release cleanly when baked.
-
In a bowl, whisk together the flour, baking powder, baking soda, and salt until well combined. Whisking distributes the leavening evenly.
-
In a large mixing bowl, cream together the softened butter and granulated sugar with a mixer for about 3 minutes, until light and fluffy. Scrape down the bowl once to ensure even creaming.
-
Add the egg and 2 teaspoons pure vanilla extract to the butter mixture, and mix until fully incorporated.
-
Gradually add the dry ingredients and 1 cup whole milk in alternating batches, beginning and ending with the dry ingredients. Mix on low speed until just combined to avoid overmixing.
-
Pour the batter into the prepared pan and bake for 30 to 36 minutes, or until a toothpick inserted in the center comes out clean. Tip: rotate the pan halfway through baking for even browning.
-
Allow the cake to cool completely at room temperature. Cooling fully is important so the cake crumbles easily and does not make the frosting runny.
-
For the frosting, beat the 7 tablespoons softened butter until creamy. Add the 1 and 3/4 cups confectioners’ sugar, 2 to 3 teaspoons heavy cream or whole milk, and 1 teaspoon vanilla extract, mixing until combined. Then beat on high for 3 minutes until fluffy.
-
Crumble the cooled cake into the frosting and mix until well combined and the mixture holds together when pressed. If it feels too loose, chill briefly until firmer.
-
Roll the mixture into balls about 1 inch in diameter. Place them on a baking sheet lined with parchment. Refrigerate for 2 hours or freeze for 1 hour to firm up.
-
Melt the 24 ounces candy melts (or white chocolate) in the microwave in 30-second intervals, stirring in between until completely melted and smooth. Do not overheat; stop when only small unmelted bits remain and stir to finish melting.
-
Dip the end of each lollipop stick into the melted coating and insert it into a cake ball, about halfway through. This helps the stick stay anchored.
-
Coat the cake ball completely with the melted chocolate and tap off any excess. Decorate with sprinkles while the coating is still wet, and place the cake pop upright in a styrofoam block or similar to harden.
-
Repeat the dipping and decorating process for all cake balls. If you want other cake flavors or inspiration for small treats, check this 3-ingredient pistachio cake for ideas on adapting flavor.
Recipe Details
- Prep Time: 40 minutes active (plus chilling time)
- Cook Time: 35 minutes (baking)
- Total Time: 3 hours 15 minutes (includes cooling and 2 hour refrigeration)
- Servings: about 24 cake pops
- Calories: approximately 370 kcal per cake pop
Note: Calories are an estimate based on the total ingredients divided by 24 servings and will vary by exact portion size and brand of ingredients. For more small-batch dessert ideas that use a few ingredients, see 4-ingredient healthy carrot cake cookies.
Tips, Storage & Variations
-
Tips
- Chill the rolled balls until firm to make dipping easier and cleaner.
- If your candy melts thicken as you work, rewarm briefly in the microwave for 10 to 15 seconds.
- Work on a cool surface and avoid humid conditions so the coating sets quickly.
-
Storage
- Store completed cake pops upright in an airtight container in the refrigerator for up to 1 week.
- For longer storage, freeze cake pops in a single layer on a baking sheet until firm, then transfer to a freezer-safe container for up to 1 month. Thaw in the refrigerator before serving.
-
Variations using only the provided ingredients
- Vanilla Crunch: Use the white chocolate coating and add sprinkles for a classic look.
- Rich Coating: Use all 24 ounces of the candy melts for thicker shells.
- Slightly Tangy: If you used buttermilk in the cake, the interior will have a mild tang that contrasts nicely with the sweet coating, a profile similar to some pineapple treats like these 4-ingredient pineapple cake.

FAQ
-
How long do cake pops last in the fridge?
Store cake pops in an airtight container in the refrigerator for up to 1 week. -
Can I use leftover cake instead of baking a new one?
Yes, leftover cake works fine. Crumble the cake and combine with the frosting until the mixture holds together. -
Why did my coating crack after it set?
Coating can crack if stored at a very cold temperature or if the coating is too thick. Keep them at a consistent, cool room temperature or refrigerated in an airtight container. -
Can I substitute milk for buttermilk in this recipe?
Yes, use whole milk if you do not have buttermilk; the texture will still be tender. -
How do I keep the sticks from falling out?
Dip the stick into melted coating before inserting, and insert about halfway through the cake ball. Chill before dipping to firm the interior around the stick. -
Can I use melted chocolate instead of candy melts?
Yes, white chocolate bars work well as indicated in the ingredients list.
People Also Ask
-
How many cake pops does a 9-inch cake make?
A 9-inch cake crumbled and mixed with frosting typically yields about 20 to 24 one-inch cake pops. -
Do cake pops need to be refrigerated?
Yes, storing cake pops in the refrigerator keeps the filling and coating fresh, especially if using butter-based frosting. -
Can you make cake pops ahead of time?
Yes, prepare and chill cake pops up to a week in the fridge or freeze for longer storage. -
Is it better to freeze or refrigerate cake pops for storage?
Freeze for long term storage up to 1 month. Refrigerate for daily use up to 1 week. -
What is the best way to melt candy melts without seizing?
Microwave in short 30-second intervals and stir often. Stop heating when small bits remain and stir to finish melting. -
How do I get a smooth finish on cake pops?
Dip quickly and rotate gently, tapping off excess coating before adding decorations while the coating is still wet. -
Can sprinkles be added after the coating sets?
Sprinkles adhere best while the coating is still wet. If the coating is dry, use a small dab of melted coating to attach sprinkles. -
Why are my cake pops crumbly and not holding together?
The mixture needs enough frosting to bind. Add more frosting a teaspoon at a time or chill the mixture so it firms up for easier rolling.
Conclusion
I hope you enjoy making these playful and delicious cake pops for your next gathering or just because. For a step-by-step external tutorial with technique photos, see this helpful guide from Homemade Cake Pops – Sally’s Baking Addiction. If you want alternative coating tips and flavor ideas, check out How To Make Cake Pops (Any Flavor!) – Preppy Kitchen. Give the recipe a try, share your creations, and enjoy every bite.
Cake Pops

Cheerful, bite-sized cake pops made with soft cake, creamy frosting, and a glossy candy shell.
- Prep Time: 40 minutes
- Cook Time: 35 minutes
- Total Time: 195 minutes
- Yield: 24 servings 1x
- Category: Dessert
- Method: Baking
- Cuisine: American
- Diet: Vegetarian
Ingredients
- 1 and 2/3 cups all-purpose flour
- 1/2 teaspoon baking powder
- 1/4 teaspoon baking soda
- 1/2 teaspoon salt
- 1/2 cup unsalted butter, softened
- 1 cup granulated sugar
- 1 large egg
- 2 teaspoons pure vanilla extract
- 1 cup whole milk (or buttermilk)
- 7 tablespoons unsalted butter, softened (for frosting)
- 1 and 3/4 cups confectioners’ sugar (for frosting)
- 2–3 teaspoons heavy cream or whole milk (for frosting)
- 1 teaspoon pure vanilla extract (for frosting)
- 24 ounces candy melts (or white chocolate bars, for coating)
- Sprinkles (for decoration)
Instructions
- Preheat the oven to 350°F (177°C) and grease a 9-inch springform pan.
- Whisk together the flour, baking powder, baking soda, and salt until well combined.
- Cream together the softened butter and granulated sugar with a mixer for about 3 minutes, until light and fluffy.
- Add the egg and 2 teaspoons pure vanilla extract to the butter mixture, and mix until fully incorporated.
- Gradually add the dry ingredients and 1 cup whole milk in alternating batches, mixing on low speed until just combined.
- Pour the batter into the prepared pan and bake for 30 to 36 minutes, or until a toothpick comes out clean.
- Allow the cake to cool completely at room temperature.
- Beat the 7 tablespoons softened butter until creamy for the frosting.
- Add the confectioners’ sugar, heavy cream or whole milk, and vanilla extract, mixing until combined.
- Crumble the cooled cake into the frosting and mix until well combined.
- Roll the mixture into balls about 1 inch in diameter and refrigerate for 2 hours or freeze for 1 hour.
- Melt the candy melts in the microwave, stirring until smooth.
- Dip the end of each lollipop stick into the melted coating and insert it into a cake ball.
- Coat the cake ball completely with the melted chocolate and decorate with sprinkles.
Notes
Chill the rolled balls until firm to make dipping easier.
Nutrition
- Serving Size: 1 cake pop
- Calories: 370
- Sugar: 25g
- Sodium: 200mg
- Fat: 20g
- Saturated Fat: 10g
- Unsaturated Fat: 8g
- Trans Fat: 0g
- Carbohydrates: 40g
- Fiber: 1g
- Protein: 3g
- Cholesterol: 40mg
