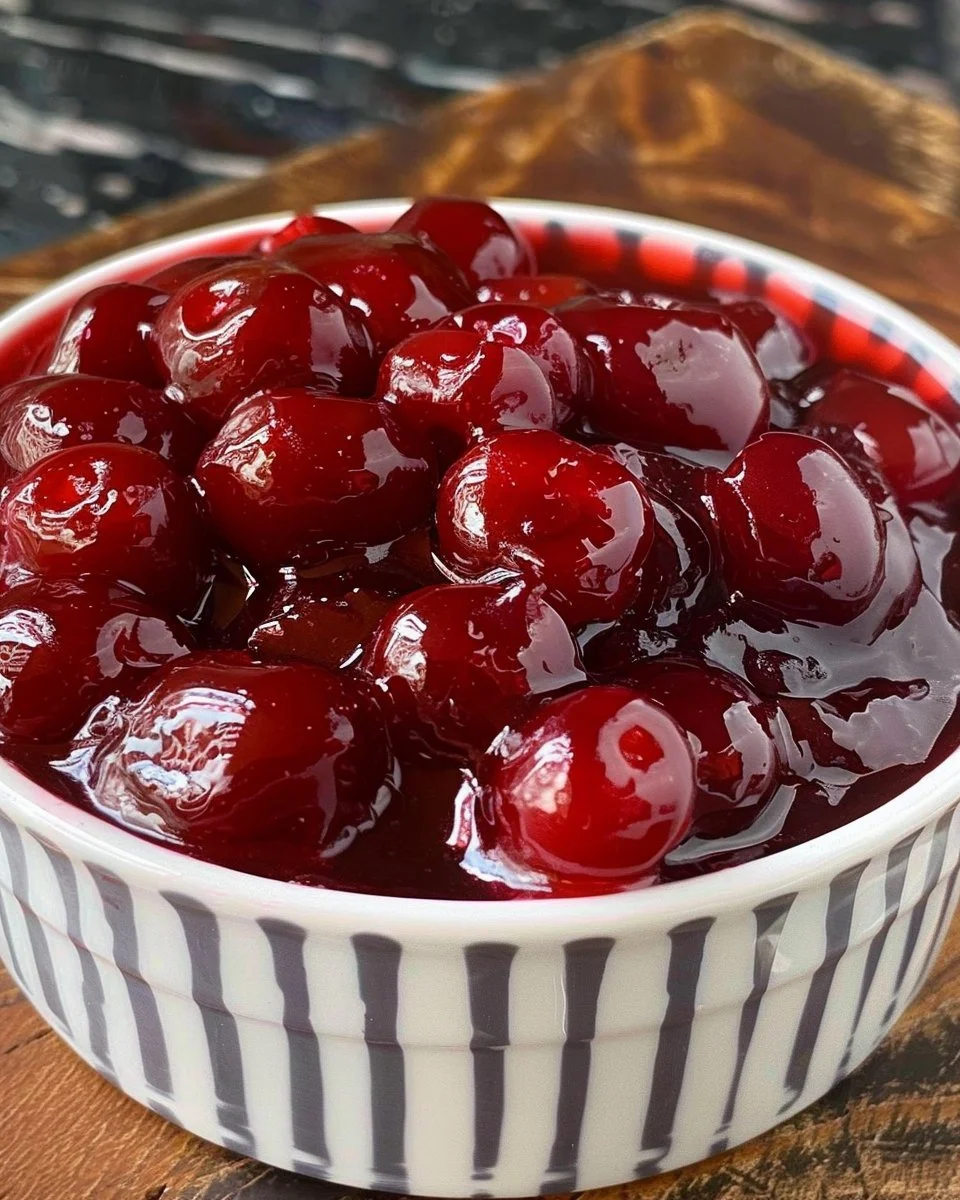
Cherry Pie Filling
Indulging in the flavors of fresh cherries is one of life’s simple pleasures, especially when you transform them into a delightful cherry pie filling. This recipe delivers a perfect balance of sweetness and tartness, making it an ideal filling for pies, tarts, or even as a topping for ice cream. The glossy, thick texture of this filling enhances its appeal, while the vibrant cherry aroma fills your kitchen with a sense of warmth and nostalgia. Whether you’re preparing for a summer gathering or simply satisfying a sweet tooth, this cherry pie filling is sure to impress.
Making it is easier than you might think, especially with just a few simple ingredients. You can use either fresh or frozen cherries, making this recipe versatile for year-round enjoyment. Moreover, this filling can be stored in the fridge for a week, allowing you to use it as you please. So grab your favorite cherries, and let’s create something delicious!
Ingredients
- ¼ cup cornstarch: This helps in thickening the filling, giving it a luscious texture.
- ⅔ cup sugar: Sweetness is essential for balancing the tartness of the cherries.
- 4 cups fresh or frozen cherries: The star ingredient, providing flavor and color; fresh cherries bring a juicy bite, while frozen ones save time.
- ½ cup water: Essential for helping dissolve the cornstarch and sugar while cooking.
- 1 tablespoon fresh lemon juice: Adds a bright acidity that enhances the cherry flavor.
Step-by-Step Instructions
- In a medium saucepan, combine the cornstarch and sugar. Stir until they are well mixed and smooth.
- Pour in the water, followed by the cherries and lemon juice. Mix everything together until well combined.
- Place the saucepan over medium heat and bring the mixture to a gentle boil, stirring frequently.
- Once boiling, reduce the heat and let it simmer for about 2 to 4 minutes. Stir often until the filling thickens to your desired consistency.
- Once thickened, remove the saucepan from heat and let the cherry filling cool.
- Transfer the filling to a storage container. It can be stored in the refrigerator for up to a week.
Recipe Details
- Prep Time: 5 minutes
- Cook Time: 10 minutes
- Total Time: 15 minutes
- Servings: Approximately 8 servings
- Calories: Approximately 90 per serving
Tips, Storage & Variations
- Cooking Tips: Stir the mixture constantly while it’s boiling to prevent lumps. If the filling is too thick, you can add a little more water until the desired consistency is reached.
- Storage: Keep the cherry pie filling in an airtight container in the refrigerator for up to one week. For longer storage, consider freezing it in an airtight container for up to three months.
- Variations: Add a splash of almond extract for a lovely nutty flavor, or mix in some cinnamon for a warming spice element.
FAQ
-
Can I use frozen cherries for this recipe?
Yes, frozen cherries work perfectly and save time on prep. -
How can I thicken cherry pie filling further?
You can add a little more cornstarch mixed with water to the filling if it’s not thick enough. -
Is this filling suitable for canning?
While this recipe is not designed for canning, it can be used in pies or stored in the fridge. -
What type of cherries is best to use?
Sweet cherries are typically preferred, but tart cherries can be delicious for a more tangy flavor. -
Can I use other fruit in this recipe?
Yes, you can substitute other fruits like blueberries or strawberries for a different flavor. -
How can I use this cherry filling?
It works great in pies, on top of ice cream, or as a filling for pastries.
People Also Ask
-
What is the best way to pit cherries?
Use a cherry pitter for an easy and mess-free way to remove the pits. -
Can I make cherry pie filling ahead of time?
Yes, you can prepare it a few days in advance and store it in the fridge. -
How do I store leftover cherry pie filling?
Store it in an airtight container in the refrigerator for up to a week. -
What desserts can I make with cherry pie filling?
This filling can be used in pies, tarts, or even as a topping for pancakes. -
Is homemade cherry pie filling better than store-bought?
Homemade filling usually tastes fresher and has fewer preservatives. -
Can I use this recipe for a cherry cobbler?
Yes, this cherry filling can be used as a base for a delicious cherry cobbler.
Conclusion
This cherry pie filling recipe is not only straightforward but also exceptionally flavorful, making it a must-try in your kitchen. With its rich cherry taste and silky texture, it elevates any dessert it accompanies. Don’t hesitate to experiment and share your culinary creations with friends and family. For more pie inspiration, check out this Homemade Cherry Pie Filling Recipe or this Homemade Cherry Pie Filling. Enjoy your delicious cherry adventure!
Cherry Pie Filling
A delightful cherry pie filling that balances sweetness and tartness, perfect for pies, tarts, or as a topping for ice cream.
- Prep Time: 5 minutes
- Cook Time: 10 minutes
- Total Time: 15 minutes
- Yield: Approximately 8 servings 1x
- Category: Dessert
- Method: Cooking
- Cuisine: American
- Diet: Vegetarian
Ingredients
- ¼ cup cornstarch
- ⅔ cup sugar
- 4 cups fresh or frozen cherries
- ½ cup water
- 1 tablespoon fresh lemon juice
Instructions
- Combine the cornstarch and sugar in a medium saucepan. Stir until smooth.
- Pour in the water, followed by the cherries and lemon juice. Mix until well combined.
- Place the saucepan over medium heat and bring to a gentle boil, stirring frequently.
- Once boiling, reduce the heat and let simmer for about 2 to 4 minutes until thickened, stirring often.
- Remove from heat and let the cherry filling cool.
- Transfer the filling to a storage container. It can be stored in the refrigerator for up to a week.
Notes
Stir constantly while boiling to prevent lumps. Add more water if the filling is too thick. For longer storage, freeze it in an airtight container for up to three months.
Nutrition
- Serving Size: 1 serving
- Calories: 90
- Sugar: 19g
- Sodium: 10mg
- Fat: 0g
- Saturated Fat: 0g
- Unsaturated Fat: 0g
- Trans Fat: 0g
- Carbohydrates: 22g
- Fiber: 1g
- Protein: 1g
- Cholesterol: 0mg