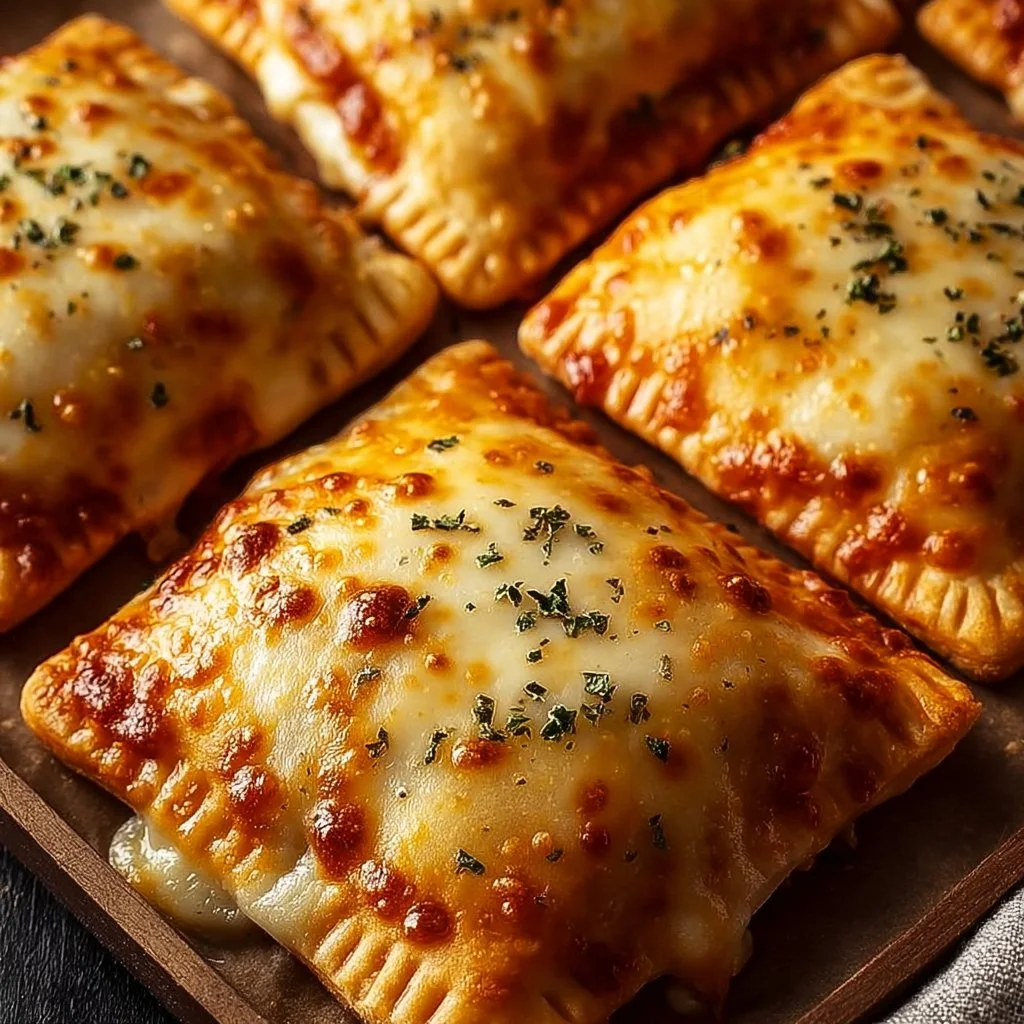
Homemade Easy Cheesy Pizza Pockets
There’s nothing quite like the aroma of fresh pizza wafting through your kitchen, especially when it’s condensed into a perfectly portable pocket! Homemade Easy Cheesy Pizza Pockets are the ultimate family-friendly treat that you can whip up in no time. These pockets are not just a feast for the taste buds; they’re also a visual delight, with their golden-brown crust cradling melted cheese and your favorite toppings. Imagine the first bite—a soft, buttery exterior giving way to a gooey, cheesy center, where flavors burst like confetti. Whether you’re looking for a quick weeknight dinner solution or a fun dish for gatherings, these pizza pockets promise to deliver smiles all around. I warmly invite you to give them a try—your family will be begging for seconds!
What Is Homemade Easy Cheesy Pizza Pockets?
Homemade Easy Cheesy Pizza Pockets are essentially a delightful fusion of classic pizza tucked inside a warm, flaky dough. Originating from the beloved tradition of hand-held foods, these pockets have their roots in various cultures, offering convenient and delicious options for meals on the go. One bite can whisk you away to your favorite pizzeria, but you get to control every element. Plus, they’re incredibly customizable; whether you’re a veggie lover, a meat enthusiast, or a cheese fanatic, there’s a combination just for you!
When it comes to cooking methods, nothing enhances the flavor and texture quite like using an air fryer for your pizza pockets. The air fryer circulates hot air around the pockets, resulting in a perfectly crispy crust while leaving the inside warm and cheesy! Typically served as a fun finger food at parties, these pizza pockets are also a great addition to family movie nights or casual weeknight dinners. Did you know that these pockets can be frozen and saved for later? That’s right! You can enjoy this cheesy goodness any day, on-demand!
Why You’ll Love This Easy Cheesy Pizza Pockets
The beauty of this recipe lies in its simplicity and adaptability, making it perfect for any family.
- Ease of Preparation: You can make these pizza pockets in under an hour, including prep time! Perfect for busy weeknights or unexpected guests.
- Flavor Complexity: The combination of gooey cheese and your choice of toppings results in an explosion of flavors that will keep your taste buds dancing.
- Family-Friendly or Kid-Approved: Kids absolutely adore these pockets! They can help with the assembly, making it a fun family activity.
- Budget-Friendly and Ingredient Flexibility: You can make use of whatever ingredients you have on hand—be it leftover vegetables or different kinds of meat—making these pockets cost-effective and versatile.
Let’s Cook Homemade Easy Cheesy Pizza Pockets
Creating your own Homemade Easy Cheesy Pizza Pockets is a straightforward yet satisfying process that requires minimal kitchen tools. With just a rolling pin, a baking sheet, and a cutting board, you can dive right into the fun of baking! The prep time is about 15 minutes, and once you pop them in the oven or air fryer, you’ll only need to wait another 20 minutes for that glorious golden crust!
Ingredients
- Pizza Dough: This provides the basic structure. You can use store-bought dough or make your own.
- Cheeses (Mozzarella and Parmesan): These melted dreams create that classic cheesy flavor.
- Pizza Sauce: Adds a tangy yet sweet flavor that balances the richness of the cheese.
- Toppings: Such as pepperoni, bell peppers, or mushrooms—mix and match to your heart’s content!
- Egg Wash: A simple mix of egg and water for brushing, giving that beautiful golden shine.
Directions
-
Preheat your oven to 375°F (190°C): This allows your pizza pockets to cook evenly and become crispy.
-
Prepare the Dough: Roll out your pizza dough on a floured surface to about 1/4 inch thick. Cut into squares or circles, about 5 inches in diameter. The thickness is key; too thin and they may burst, too thick and they won’t cook through.
-
Add the Fillings: On one half of each dough piece, spread a tablespoon of pizza sauce. Then, layer on a generous helping of shredded mozzarella followed by your selected toppings. Don’t overfill; less is more to avoid a mess!
-
Seal the Pockets: Fold the dough over to cover the filling completely. Press the edges firmly to seal—this is a crucial step! For extra sealing, use a fork to crimp the edges.
-
Egg Wash: In a small bowl, whisk the egg with a pinch of water. Brush this mixture over the top of each pocket to achieve that golden-brown sheen when baked.
-
Bake: Arrange the pizza pockets on a baking sheet lined with parchment paper. Bake for about 20 minutes, or until the tops are golden and the cheese is bubbling. The aroma will be divine!
-
Cool & Serve: Let them cool for a few minutes before serving. The wait is hard, but trust me, that gooey center will be worth it!
What to Serve With Homemade Easy Cheesy Pizza Pockets
Pairing your Homemade Easy Cheesy Pizza Pockets with complementary sides elevates the meal. Consider serving them with a light garden salad; the freshness of the greens balances the richness of the cheese. A side of garlic dipping sauce or marinara enhances the pizza experience, giving a satisfying extra layer of flavor. For families with kids, offering some crunchy carrot sticks or fruit slices provides a nice contrast in texture.
Top Tips for Perfecting Your Pizza Pockets
To make your pizza pockets even more delightful, a few techniques can enhance the final product.
- Ingredient Swaps: Feel free to swap mozzarella for cheddar or experiment with goat cheese for a tangier flavor.
- Spice Adjustments: Adding dried oregano or crushed red pepper flakes to your filling can elevate the flavor profile.
- Equipment Advice: If you have a pizza stone, use it! It helps to achieve an even crispier crust.
- Storage Tips: If you have leftovers, keep them in an airtight container in the fridge for up to three days.
- Mistakes to Avoid: Make sure your dough isn’t too sticky or too dry—the right texture is key for sealing!
Variations & Add-Ins
Feel free to get creative with your pizza pocket fillings. Here are a few fun variations:
- Vegetarian Delight: Use sautéed spinach, mushrooms, and ricotta cheese for a healthier twist.
- Spicy Chicken: Add shredded cooked chicken tossed in buffalo or BBQ sauce for a zesty kick.
- Breakfast Pizza Pockets: Incorporate scrambled eggs, cheese, and cooked bacon or sausage for a breakfast option.
Kid-Friendly Version
To make your pizza pockets more appealing for kids, consider using fun cookie cutters to create different shapes. Keeping the fillings simple with just cheese and pepperoni can also help. Additionally, think about letting the kids assemble their own pockets—this not only encourages them to eat but also sparks creativity!
Storing and Reheating Tips
Once you’ve savored these Homemade Easy Cheesy Pizza Pockets, you’ll likely have some leftovers. Store them in an airtight container in the refrigerator for up to three days. Ensure they’re completely cooled before closing the lid to prevent moisture buildup. If you’re looking to keep them longer, consider freezing them. Just place them in a single layer on a baking sheet until frozen solid, then transfer them to a freezer bag.
When it comes to reheating, your oven is best for retaining texture. Preheat it to 350°F (175°C) and warm the pockets for about 10 minutes. You can also pop them in the microwave for about 30 seconds to a minute, but be mindful as this can make the crust a bit soggy. For freezer pizza pockets, thaw them overnight in the fridge before reheating to preserve the quality.
FAQs
Q: Can I prep these pizza pockets in advance?
A: Absolutely! You can assemble the pockets and keep them in the fridge for a few hours or freeze them for up to two months before baking. Just remember to bake them straight from frozen with a slight increase in time.
Q: What other toppings can I use?
A: Almost anything goes! Try adding cooked bacon, olives, or even pineapple for a classic Hawaiian twist. The possibilities are endless!
Q: Are these pizza pockets suitable for dietary restrictions?
A: Yes! You can easily make them gluten-free by using gluten-free pizza dough or dairy-free with non-dairy cheese alternatives.
Q: How long do these pizza pockets take to cook from frozen?
A: If cooking from frozen, preheat your air fryer to 375°F and cook for about 15-20 minutes, flipping halfway through for even crispness.
Q: Can I make the dough from scratch?
A: Of course! Making your own dough can enhance the flavor and texture. You can find countless easy recipes online for homemade pizza dough.
Conclusion
Homemade Easy Cheesy Pizza Pockets are a joyous addition to your kitchen repertoire—a dish that gathers families, excites children, and satisfies cheese lovers of all ages. With easy preparation, endless variations, and an irresistible aroma while baking, they are sure to become a family favorite. So why not try it tonight and let me know how it turned out? Happy cooking!
Homemade Easy Cheesy Pizza Pockets

Delicious and customizable pizza pockets filled with gooey cheese and your favorite toppings, perfect for family gatherings or quick weeknight dinners.
- Prep Time: 15 minutes
- Cook Time: 20 minutes
- Total Time: 35 minutes
- Yield: 4 servings
- Category: Snack
- Method: Baking
- Cuisine: Italian
- Diet: Vegetarian
Ingredients
- Pizza Dough
- Cheeses (Mozzarella and Parmesan)
- Pizza Sauce
- Toppings (pepperoni, bell peppers, mushrooms, etc.)
- Egg Wash (1 egg mixed with water)
Instructions
- Preheat your oven to 375°F (190°C).
- Roll out your pizza dough on a floured surface to about 1/4 inch thick and cut into squares or circles, about 5 inches in diameter.
- On one half of each dough piece, spread a tablespoon of pizza sauce, then layer on shredded mozzarella and selected toppings.
- Fold the dough over to cover the filling completely and press the edges firmly to seal.
- Whisk the egg with a pinch of water and brush over the top of each pocket.
- Arrange the pockets on a baking sheet lined with parchment paper and bake for about 20 minutes or until golden brown.
- Let cool for a few minutes before serving.
Notes
These pizza pockets can be frozen for later use. Bake straight from frozen with a slight increase in time.
Nutrition
- Serving Size: 1 pocket
- Calories: 350
- Sugar: 3g
- Sodium: 450mg
- Fat: 15g
- Saturated Fat: 6g
- Unsaturated Fat: 8g
- Trans Fat: 0g
- Carbohydrates: 40g
- Fiber: 2g
- Protein: 12g
- Cholesterol: 35mg