

Cheesy Taco Beef & Rice
Introduction
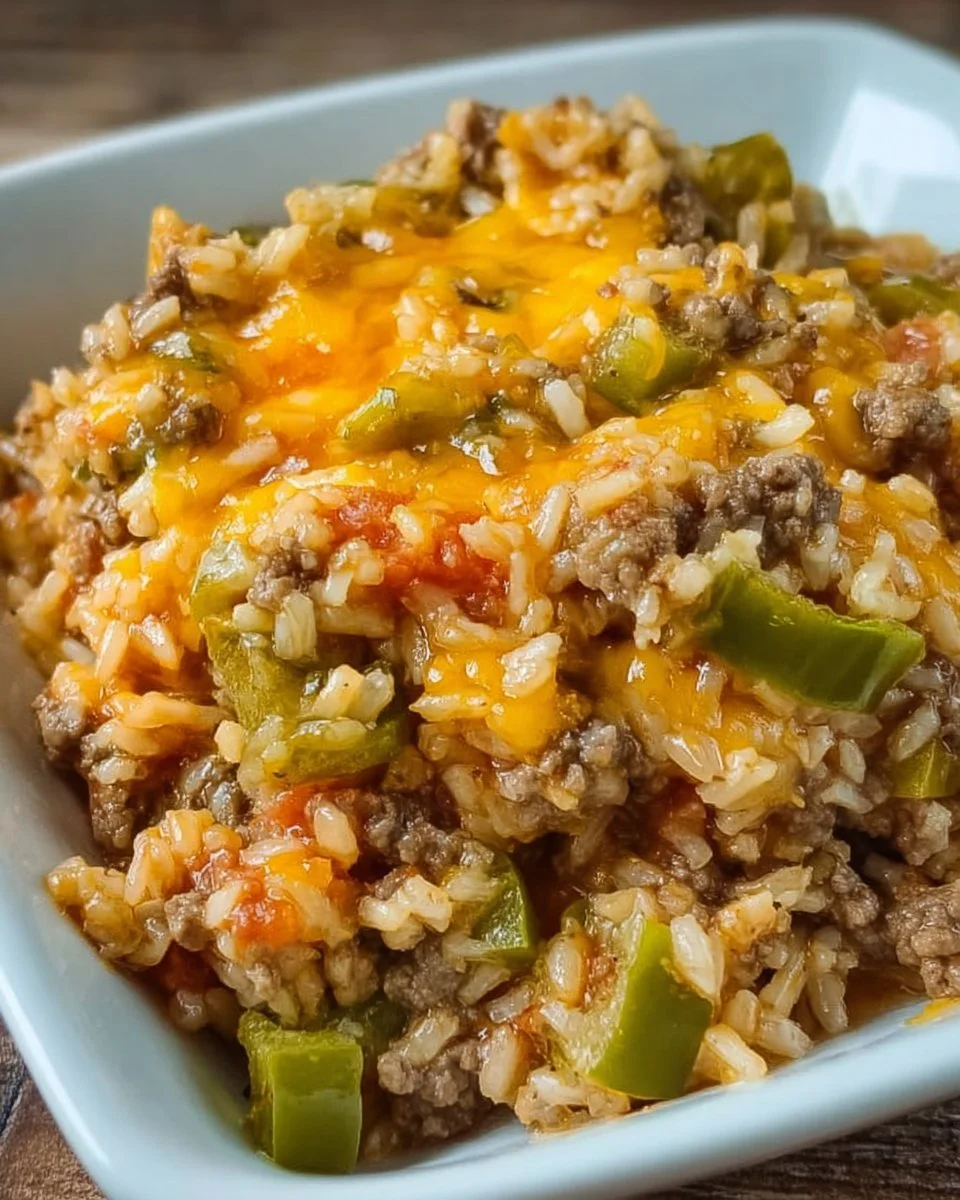
This Cheesy Taco Beef & Rice is an easy, satisfying one skillet meal that brings together seasoned ground beef, tender rice, and gooey melting cheese in a single pan. The first bite delivers warm, savory beef with a gentle tomato tang and a touch of green chili heat, while the vegetables add a soft, slightly sweet crunch. The texture is creamy and comforting thanks to the melted cheddar and Monterey Jack blend, with fragrant taco seasoning and tomato aromatics filling the kitchen as it simmers. It is ideal for busy weeknights, potlucks, or a hearty family dinner when you want something quick, filling, and beloved by kids and adults alike. If you enjoy cozy, cheesy dishes, you might also like this take on cheesy broccoli au gratin, which pairs well with a simple green salad cheesy broccoli au gratin.
Ingredients
- 1 lb ground beef, Provides the savory protein base, brown until no longer pink.
- 1/2 yellow onion, diced, Adds sweetness and depth when sautéed.
- 1 green bell pepper, diced, Brings a mild, fresh crunch and color.
- 1 (10 oz) can diced tomatoes with green chilies, undrained, Adds tomato flavor and a mild chili kick, use the juices as written.
- 1 (8 oz) can tomato sauce, Thickens the sauce and adds rich tomato character.
- 1 packet taco seasoning, Provides the classic taco spices for bold flavor.
- 2 cups cooked long-grain rice, or cook 1 cup uncooked rice in 2 cups beef broth before adding, Use cooked rice for quick assembly or follow the uncooked rice option for extra flavor.
- 1/2 cup beef broth, Adds liquid for simmering and layers of savory taste.
- 2 cups shredded cheese, cheddar + Monterey Jack blend, or Mexican blend, Use a melty mix for creamy texture and a sharp, cheesy finish.
- Salt and pepper, to taste, Season at the end to balance flavors.
- Fresh parsley or cilantro, chopped, optional garnish, Brightens the dish and adds color.
Step-by-Step Instructions
- Brown the beef. In a large skillet over medium heat, add the 1 lb ground beef and cook until browned, breaking it up with a spoon. Drain excess fat, then return the beef to the skillet. Tip, if your beef is very lean, you can skip draining.
- Sauté the vegetables. Add the diced 1/2 yellow onion and 1 green bell pepper to the skillet, and cook until soft and translucent, about 4 to 5 minutes.
- Add tomatoes, sauce, and seasoning. Stir in the 1 (10 oz) can diced tomatoes with green chilies, undrained, the 1 (8 oz) can tomato sauce, and the 1 packet taco seasoning. Mix well so the seasonings coat the beef and vegetables.
- Stir in rice and broth. Add the 2 cups cooked long-grain rice, or if you cooked rice separately use that, and pour in the 1/2 cup beef broth. Stir until everything is combined and the rice is evenly distributed.
- Simmer gently. Reduce the heat to low, cover partially, and let the mixture simmer for about 10 minutes, stirring occasionally so it does not stick and the flavors meld.
- Melt the cheese. Sprinkle the 2 cups shredded cheese over the hot mixture, then stir until melted and creamy. Work quickly so the cheese becomes smooth and coats the rice and beef.
- Season and adjust. Taste the dish, then add salt and pepper to taste, keeping in mind the taco seasoning adds saltiness.
- Garnish and serve. Spoon into bowls, and top with chopped fresh parsley or cilantro if desired, then serve hot. For an alternate cheesy dinner idea, try these savory cheesy egg puffs for a side or brunch option cheesy egg puffs.
Recipe Details
- Prep Time, 10 minutes
- Cook Time, 25 minutes
- Total Time, 35 minutes
- Servings, 4
- Calories, approximately 630 per serving
Tips, Storage & Variations
- Tip, use medium heat and stir occasionally while simmering to prevent sticking, and use a skillet with a tight fitting lid if possible.
- Tip, if you prefer more sauce, add an extra 1/4 cup beef broth and simmer a few minutes longer.
- Storage, refrigerate leftovers in an airtight container for up to 3 days.
- Freezing, cool completely, then freeze in airtight containers for up to 2 months. Thaw overnight in the refrigerator before reheating gently on the stovetop.
- Reheating, stir in a splash of broth or water while reheating to restore creaminess.
- Flavor variations using existing ingredients only, swap the cheese blend by using only cheddar or only Monterey Jack for a sharper or milder finish, or use the uncooked rice option and cook 1 cup rice in 2 cups beef broth before adding for a more integrated rice texture.
- For a creamier, saucier twist, consider the technique used in my cheesy garlic butter chicken bowtie mozzarella sauce for inspiration on keeping dishes extra saucy cheesy garlic butter chicken bowtie mozzarella sauce.
FAQ
-
Can I use lean ground beef instead of regular?
Yes, use lean ground beef and reduce draining. The dish will be slightly less greasy and still flavorful. -
Can I use leftover rice?
Yes, leftover cooked rice works perfectly, and it helps the dish come together faster. -
Is the taco seasoning packet necessary?
The packet provides the intended taco flavor, but you can adjust seasoning by using your own blend if preferred. -
Can I make this vegetarian?
You can substitute a plant based ground beef alternative, but that ingredient is not listed here. -
How do I prevent the rice from becoming mushy?
Use cooked long-grain rice that is slightly dry, and avoid over stirring during the simmer step. -
Can I prepare this in advance?
Assemble through step 4, refrigerate, then finish cooking and add cheese when ready to serve.
People Also Ask
-
What type of rice is best for this recipe?
Long-grain rice works well because it stays separate and does not clump during cooking. -
How long does it take to melt the cheese evenly?
A couple of minutes over low heat while stirring usually gives a smooth, even melt. -
Can I omit the tomato sauce?
Omitting the tomato sauce will change the texture and flavor, making the dish less saucy. -
Will this recipe work in a slow cooker?
Yes, you can adapt it by browning beef and veggies first, then combining ingredients and cooking on low until rice is tender, though timing may vary. -
Is it safe to freeze after adding cheese?
Yes, but cheese texture can change. For best results, freeze before adding cheese and stir cheese in when reheating. -
How spicy is this dish?
It is mildly spicy from the diced tomatoes with green chilies and taco seasoning, but you can control heat by selecting mild or hot seasoning packets. -
What sides pair well with this meal?
A simple green salad, steamed vegetables, or warm tortillas go well with this hearty skillet meal, and for another cheesy side try the creamy bowtie pasta recipe cheesy garlic butter chicken bowtie pasta creamy sauce.
Conclusion
This Cheesy Taco Beef & Rice is a weeknight hero, delivering bold, familiar flavors with minimal fuss and maximum comfort. It reheats well, freezes easily, and is a great base for adding whatever you have on hand. If you want another variation on cheesy taco style rice, see Modern Honey for a similar skillet take Modern Honey’s Mexican Cheesy Taco Beef and Rice Skillet, and for a different twist on cheesy taco rice, check out the recipe on Cooking in the Midwest Cooking in the Midwest’s Cheesy Taco Rice. Give this recipe a try, then come back and share how your family enjoyed it, warm and satisfying as a simple weeknight favorite.
Cheesy Taco Beef & Rice

An easy, satisfying one skillet meal combining seasoned ground beef, rice, and melted cheese for a cozy family dinner.
- Prep Time: 10 minutes
- Cook Time: 25 minutes
- Total Time: 35 minutes
- Yield: 4 servings 1x
- Category: Main Course
- Method: Skillet
- Cuisine: Mexican
- Diet: None
Ingredients
- 1 lb ground beef
- 1/2 yellow onion, diced
- 1 green bell pepper, diced
- 1 (10 oz) can diced tomatoes with green chilies, undrained
- 1 (8 oz) can tomato sauce
- 1 packet taco seasoning
- 2 cups cooked long-grain rice
- 1/2 cup beef broth
- 2 cups shredded cheese (cheddar + Monterey Jack blend)
- Salt and pepper, to taste
- Fresh parsley or cilantro, chopped (optional garnish)
Instructions
- Brown the beef. In a large skillet over medium heat, add the ground beef and cook until browned, breaking it up with a spoon. Drain excess fat, then return the beef to the skillet.
- Sauté the vegetables. Add the diced onion and bell pepper to the skillet, and cook until soft and translucent, about 4 to 5 minutes.
- Add tomatoes, sauce, and seasoning. Stir in the diced tomatoes, tomato sauce, and taco seasoning. Mix well so the seasonings coat the beef and vegetables.
- Stir in rice and broth. Add the cooked long-grain rice and pour in the beef broth. Stir until everything is combined.
- Simmer gently. Reduce the heat to low, cover partially, and let the mixture simmer for about 10 minutes, stirring occasionally.
- Melt the cheese. Sprinkle the shredded cheese over the hot mixture, then stir until melted and creamy.
- Season and adjust. Taste the dish, then add salt and pepper to balance flavors.
- Garnish and serve. Spoon into bowls, and top with chopped parsley or cilantro if desired, then serve hot.
Notes
For extra flavor, use uncooked rice cooked in beef broth. This dish reheats well and can be frozen for up to 2 months.
Nutrition
- Serving Size: 1 serving
- Calories: 630
- Sugar: 6g
- Sodium: 750mg
- Fat: 36g
- Saturated Fat: 16g
- Unsaturated Fat: 16g
- Trans Fat: 0g
- Carbohydrates: 45g
- Fiber: 3g
- Protein: 38g
- Cholesterol: 90mg
