Easter Poke Cake
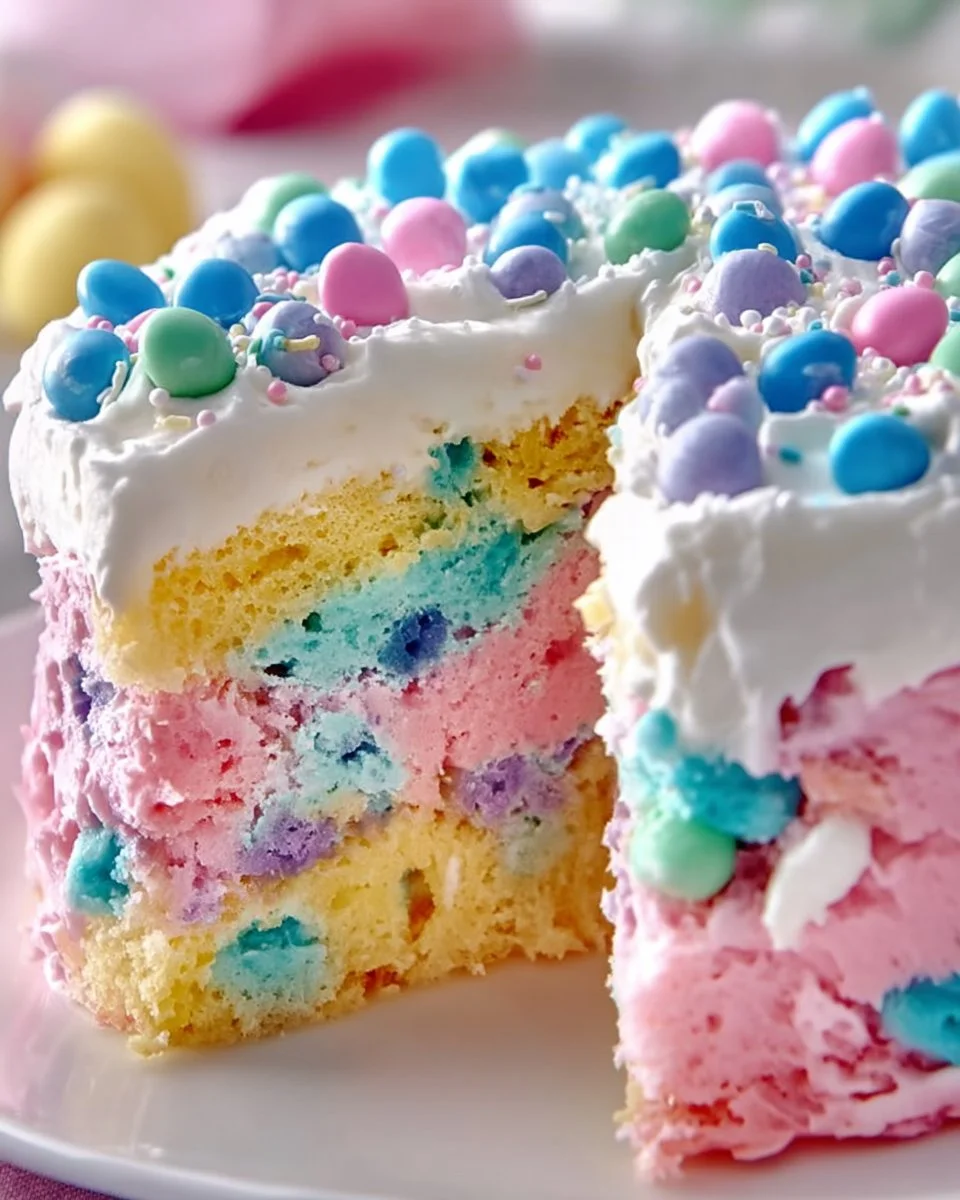
This Easter Poke Cake is a bright, playful dessert that tastes like a springtime celebration in every bite. The cake is soft and tender from a classic white cake mix, while the white chocolate pudding adds creamy, sweet pockets of flavor that punctuate each slice. The whipped topping is light and billowy, lending a silky contrast to the denser cake and pudding. A bouquet of pastel pink, blue, green, and yellow pudding dots creates a festive palette that is perfect for an Easter brunch, family potluck, or a cheerful dessert after dinner. You will notice a delicate vanilla aroma and a rich white chocolate creaminess that keeps each forkful comforting yet fun. If you enjoy exploring poke cake variations, try a few ideas such as a gentle butter pecan spin with this butter pecan poke cake variation to inspire your presentation.
Ingredients
-
1 box white cake mix (plus ingredients needed per package instructions)
Use the cake mix called for on the box, and follow the package for eggs, oil, and water quantities. The white cake gives a neutral base that lets the pudding colors pop. -
1 box (3.4 oz) instant white chocolate pudding mix
Instant pudding adds sweet, creamy white chocolate flavor and sets quickly when combined with cold milk. -
2 cups cold milk
Cold milk activates the instant pudding and ensures a smooth, thick texture for filling the holes. -
1 cup heavy cream
Heavy cream whips into a stable, fluffy topping that keeps the cake light and dessert-like. -
1/2 cup powdered sugar
Powdered sugar sweetens and stabilizes the whipped cream without graininess. -
1 teaspoon vanilla extract
A touch of vanilla deepens the cream flavor and enhances the cake and pudding notes. -
Pink food coloring
Use gel or liquid to tint a portion of pudding a soft pastel pink. -
Blue food coloring
Tint a portion of pudding to a soft pastel blue for a springy look. -
Green food coloring
Create a pale green pudding to evoke fresh spring grass color. -
Yellow food coloring
A soft pastel yellow pudding adds sunny contrast to the other colors.
For another playful take on pudding colors and placement, see this playful praline poke cake idea for inspiration.
Step-by-Step Instructions
-
Bake the Cake
Prepare the white cake mix according to the package instructions and pour the batter into a greased 9×13-inch pan. Bake as directed on the box until a toothpick comes out clean. Let the cake cool in the pan for 10 minutes. Tip: Cooling slightly helps the cake set so it will not crumble when you poke holes. -
Poke the Holes
Using the end of a wooden spoon or the handle of a wooden utensil, poke holes evenly across the surface of the warm cake. Space the holes about 1 to 1.5 inches apart so each slice gets colorful pockets of pudding. -
Make the Pudding
In a medium bowl, whisk together the instant white chocolate pudding mix and 2 cups cold milk until smooth. Let the mixture sit for 2 minutes to thicken slightly before dividing. -
Add the Colors
Divide the pudding evenly into four small bowls. Tint each bowl of pudding a different pastel shade with pink, blue, green, and yellow food coloring. Start with a tiny amount of color and add more to reach a soft pastel hue. -
Fill the Cake
Spoon or pipe the colored pudding into each hole, alternating colors for a fun, festive effect. Press gently so the pudding settles into the holes, then smooth the top with a spatula to create an even surface. Refrigerate the cake for 30 minutes to allow the pudding to set. -
Make the Whipped Topping
In a chilled bowl, beat 1 cup heavy cream, 1/2 cup powdered sugar, and 1 teaspoon vanilla extract until stiff peaks form. Be careful not to overbeat, or the cream may become grainy. -
Frost and Serve
Spread the whipped topping evenly over the chilled cake. Decorate with pastel sprinkles or create soft swirls of color by adding small drops of food coloring on top and lightly swirling with a toothpick. Slice and enjoy. For more ideas on creative poke cake techniques, refer to these helpful tips on other creative poke cake techniques.
Recipe Details
- Prep Time: 15 minutes
- Cook Time: 25 minutes (follow package directions for exact bake time)
- Cooling and Chill Time: 40 minutes total (10 minutes cooling, 30 minutes chilling)
- Total Time: 1 hour 20 minutes
- Servings: 12 slices
- Calories: Approximately 320 calories per serving
Tips, Storage & Variations
-
Practical Tips
- Work with a slightly warm cake for easier hole poking, but fill the holes after the 10-minute cool so the pudding keeps its shape.
- Use gel food coloring for brighter pastel shades with less liquid added.
- Chill your mixing bowl and beaters for the whipped topping to help cream whip faster.
-
Storage and Freezing
- Store covered in the refrigerator for up to 3 days. The pudding and whipped topping are best enjoyed fresh.
- To freeze, do not freeze with whipped topping. Instead, freeze individual slices wrapped tightly for up to 1 month, thaw overnight in the refrigerator, then add freshly whipped topping before serving.
-
Flavor Variations Using Existing Ingredients Only
- Double the white chocolate punch by adding a bit more instant pudding into the center holes for extra creaminess.
- Create a softer pastel palette by diluting food coloring with a small spoonful of pudding before tinting the main bowls.
- For a single-color-themed cake, use just one or two of the colorings to make a monochrome look. For other inspiration and presentation ideas, check this praline twist inspiration.
Frequently Asked Questions
-
How long should I let the cake cool before poking holes?
Let the cake cool for 10 minutes in the pan so it is warm but set enough to poke clean holes. -
Can I use nonfat or low-fat milk for the pudding?
Yes, but whole milk yields the creamiest, most stable pudding texture. -
Will the pudding run out of the holes?
Spoon gently and press the pudding into the holes; refrigerating for 30 minutes helps it set in place. -
How do I prevent the whipped cream from deflating?
Use cold equipment and stop beating as soon as stiff peaks form to avoid overwhipping. -
Can I make this dessert ahead of time?
Yes, assemble up to a day ahead and store covered in the refrigerator. Add any fresh decorations the day you serve.
People Also Ask
-
What type of cake mix is best for a poke cake?
A white or yellow cake mix works well because the mild flavor lets the pudding shine. -
Can instant pudding be used cold or does it need to set?
Instant pudding sets quickly with cold milk and is ready to use after a short rest of about 2 minutes. -
How do I get pastel colors with food coloring?
Use very small amounts of gel or liquid food coloring and build color gradually until you reach a pastel shade. -
Is it okay to use whipped topping from a can?
Canned whipped topping can be used, but freshly whipped cream has a superior texture and flavor. -
How many holes should I poke in a 9×13 cake?
Space holes about 1 to 1.5 inches apart across the cake, which typically makes 20 to 30 holes depending on spacing. -
Can I make this in a different pan size?
You can, but adjust the number of holes and presentation for a similar depth and coverage. -
How do I keep the edges from drying out?
Cover the pan with plastic wrap while chilling to trap moisture and prevent drying.
Conclusion
This Easter Poke Cake is an easy, cheerful dessert that brings pastel colors and creamy pockets of white chocolate pudding to your holiday table. If you want a recipe reference with similar festive ideas, see the classic Easter Poke Cake – Wishes and Dishes for presentation inspiration and another version at Easter Poke Cake – OMG Chocolate Desserts for additional tips. I hope you try this recipe, enjoy the playful colors, and share a slice with someone special for a cozy, memorable celebration.
Easter Poke Cake

A bright and playful dessert perfect for Easter celebrations, featuring creamy pockets of white chocolate pudding and a festive pastel palette.
- Prep Time: 15 minutes
- Cook Time: 25 minutes
- Total Time: 80 minutes
- Yield: 12 slices 1x
- Category: Dessert
- Method: Baking
- Cuisine: American
- Diet: Vegetarian
Ingredients
- 1 box white cake mix (plus ingredients needed per package instructions)
- 1 box (3.4 oz) instant white chocolate pudding mix
- 2 cups cold milk
- 1 cup heavy cream
- 1/2 cup powdered sugar
- 1 teaspoon vanilla extract
- Pink food coloring
- Blue food coloring
- Green food coloring
- Yellow food coloring
Instructions
- Prepare the white cake mix according to the package instructions and pour the batter into a greased 9×13-inch pan. Bake as directed on the box until a toothpick comes out clean. Let the cake cool in the pan for 10 minutes.
- Using the end of a wooden spoon or the handle of a wooden utensil, poke holes evenly across the surface of the warm cake.
- In a medium bowl, whisk together the instant white chocolate pudding mix and 2 cups cold milk until smooth. Let the mixture sit for 2 minutes to thicken slightly before dividing.
- Divide the pudding evenly into four small bowls. Tint each bowl of pudding a different pastel shade.
- Spoon or pipe the colored pudding into each hole, alternating colors for a fun, festive effect. Refrigerate the cake for 30 minutes to allow the pudding to set.
- In a chilled bowl, beat 1 cup heavy cream, 1/2 cup powdered sugar, and 1 teaspoon vanilla extract until stiff peaks form.
- Spread the whipped topping evenly over the chilled cake. Decorate with pastel sprinkles if desired. Slice and enjoy.
Notes
For best results, chill your mixing bowl and beaters before whipping the cream. Store leftovers in the refrigerator for up to 3 days.
Nutrition
- Serving Size: 1 slice
- Calories: 320
- Sugar: 20g
- Sodium: 400mg
- Fat: 18g
- Saturated Fat: 10g
- Unsaturated Fat: 6g
- Trans Fat: 0g
- Carbohydrates: 45g
- Fiber: 1g
- Protein: 4g
- Cholesterol: 30mg