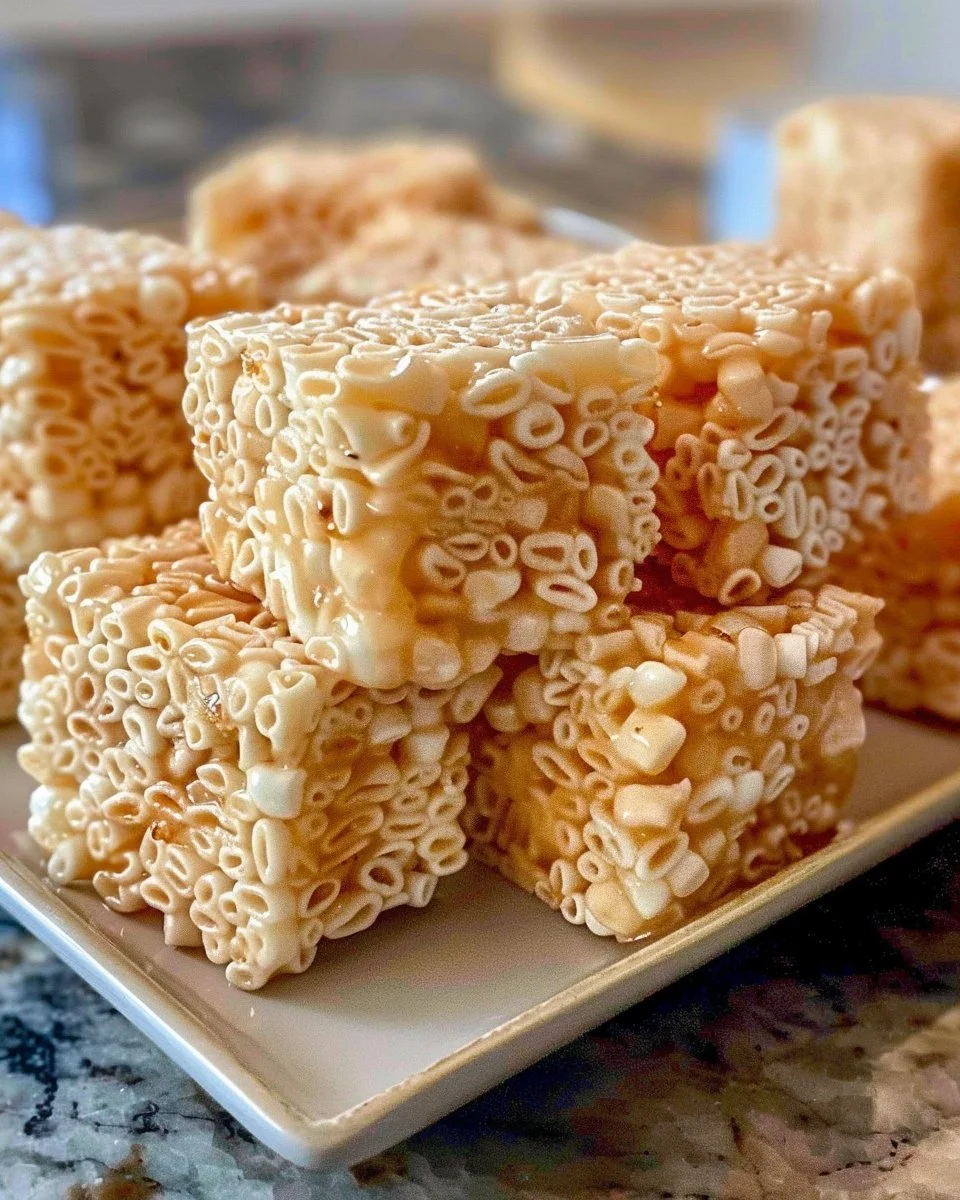
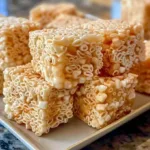
Rice Krispie Treats
These classic Rice Krispie Treats are the ultimate quick dessert for when you want something nostalgic, sticky, and perfectly sweet. Soft, pillowy marshmallow melds with buttery condensed milk to create a chewy center that clings to crisp Rice Krispie cereal for a satisfying contrast. The aroma is warm and toasty with a hint of vanilla, and each bite delivers a gentle crunch followed by a tender, gooey finish. They are ideal for after-school snacks, potlucks, casual parties, or anytime you want a fast homemade treat that tastes like childhood. If you enjoy creative takes on cereal bars, try these chocolate-inspired ideas like the chocolate Rice Krispie balls for holiday variations and inspiration.
Ingredients
- 6 Tbsp Unsalted Butter — Provides rich, creamy flavor and helps the marshmallow mixture dissolve smoothly. Use full-fat unsalted butter for the best texture.
- 1/4 Tsp Kosher Salt — Balances the sweetness and brightens flavor. If using table salt, reduce slightly.
- 2/3 Cup Sweetened Condensed Milk (5 Oz) — Adds sweetness and a dense, chewy texture compared to using only marshmallows.
- 12 Oz Mini Marshmallows — The main binder that melts into a soft, sticky matrix. Mini marshmallows melt faster and distribute evenly.
- 1 Tsp Vanilla Extract — Adds a warm, fragrant note that rounds out the sweetness.
- 7 Cups Rice Krispie Cereal (7 Oz) — Provides the crisp, airy crunch that contrasts with the marshmallow softness. For a toasted note, see tips below and the fun seasonal twists like seasonal Rice Krispies variations.
Step-by-Step Instructions
- Prepare a 9×13 inch pan by spraying it with butter cooking spray. Set aside. Tip: Line the pan with parchment for easier removal if you prefer.
- In a large pot over medium heat, melt the butter and add the kosher salt. Use a rubber spatula to spread the butter up the sides to prevent the mixture from sticking. Keep the heat moderate so the butter does not brown.
- Add the sweetened condensed milk to the melted butter and stir to combine. Stir until fully incorporated and warm.
- Add the mini marshmallows and stir over medium heat until completely melted, then remove from heat. Stir continuously for a glossy, smooth mixture.
- Add the vanilla extract and stir it all together. Stir briefly so the vanilla is evenly distributed.
- Add the Rice Krispie cereal and mix until well combined. Work quickly so the cereal is fully coated before the mixture sets. For an extra toasty flavor, you can briefly warm the cereal in a dry skillet before step 6.
- Pour the mixture into the prepared pan, wet your hands, and gently press the mixture into the pan without pressing too hard. Tip: Lightly wetting your hands prevents sticking and preserves the treats’ airy texture.
- Let the treats cool at room temperature for an hour. Do not refrigerate; room temperature cooling preserves chewiness.
- Once cooled, remove from the pan and cut into squares. Enjoy! For a quick savory-meets-sweet lunch idea while your treats set, check out a rice main like bang bang fried rice.
Recipe Details
- Prep Time: 10 minutes
- Cook Time: 10 minutes active, plus 60 minutes cooling
- Total Time: 1 hour 20 minutes
- Servings: About 12 squares
- Calories: Approximately 240 kcal per serving
For another rice-forward dinner idea that complements a cookie or bar dessert night, see this Greek-style chicken and rice skillet.
Tips, Storage & Variations
- Practical tips:
- Use a large pot so you can stir easily and coat the cereal without spilling.
- Wet your hands and spatula before pressing the mixture to avoid sticking.
- Do not over-press the mixture into the pan to keep the treats light rather than brick-like.
- Storage:
- Short term: Store airtight at room temperature for up to 3 days for best texture.
- Longer storage: Keep in the refrigerator for up to 1 week, but note refrigeration can firm them up.
- Freezing:
- Individually wrap squares in plastic wrap, then place in a freezer bag. Freeze up to 1 month. Thaw at room temperature for 20 to 30 minutes.
- Flavor variations using the ingredients you already have:
- For pockets of extra goo, reserve a handful of the mini marshmallows and press them lightly into the top after pouring into the pan.
- For a slightly nuttier aroma, briefly toast the Rice Krispie cereal in a dry skillet over medium heat before folding it in.
- For a deeper caramel note, allow the marshmallow and condensed milk mixture to cook one to two minutes longer over medium heat while stirring continuously.
For another savory recipe idea to round out a baking day, you might enjoy the Greek-style chicken and rice skillet.
Frequently Asked Questions
Q: Can I use regular marshmallows instead of mini marshmallows?
A: Yes. Regular marshmallows will work but take slightly longer to melt; chop them for faster, more even melting.
Q: Why are my treats hard after cooling?
A: Overmixing or pressing too firmly can compact the cereal. Lightly press and avoid refrigeration for best chewiness.
Q: Can I substitute salted butter?
A: You can, but reduce the kosher salt or omit it to avoid oversalting.
Q: Do I need to use sweetened condensed milk?
A: It contributes chew and richness. Omitting it will change texture and sweetness significantly.
Q: How do I keep treats from sticking to my knife when cutting?
A: Dip the knife in hot water and wipe dry between cuts for cleaner slices.
Q: Can I make smaller or larger pans?
A: Yes, but baking depth changes portion sizes and cooling time. A 9×13 pan yields about 12 squares as listed.
People Also Ask
Q: What is the secret to chewy Rice Krispie treats?
A: Gentle heating and not over-pressing the mixture keeps them chewy. Avoid refrigerating right away.
Q: How long do homemade Rice Krispie treats last at room temperature?
A: Stored airtight, they stay fresh for about 2 to 3 days at room temperature.
Q: Can I melt marshmallows in the microwave instead of on the stove?
A: Yes, melt butter, condensed milk, and most marshmallows in short bursts, stirring frequently, but stovetop offers more control.
Q: Will using sweetened condensed milk make treats stickier?
A: Yes, it increases chew and stickiness compared to recipes that use only marshmallows.
Q: Is it okay to press the mixture firmly into the pan?
A: Press gently. Pressing too hard makes treats dense rather than light and airy.
Q: Why add vanilla to Rice Krispie treats?
A: Vanilla adds warmth and rounds out sweetness for a more complex flavor.
Conclusion
Thank you for trying this simple, nostalgic Rice Krispie Treats recipe. If you want to compare a classic version, you can view The Original Rice Krispies Treats™ Recipe for a point of reference. For another tested variation and technique tips from a popular baking blog, consider The Best Rice Krispie Treats Recipe – Sugar Spun Run. Enjoy sharing these warm, chewy squares with friends and family, and please come back to tell me how they turned out.
PrintRice Krispie Treats
These classic Rice Krispie Treats are the ultimate quick dessert for when you want something nostalgic, sticky, and perfectly sweet.
- Prep Time: 10 minutes
- Cook Time: 10 minutes
- Total Time: 80 minutes
- Yield: 12 squares 1x
- Category: Dessert
- Method: Stovetop
- Cuisine: American
- Diet: Vegetarian
Ingredients
- 6 Tbsp Unsalted Butter
- 1/4 Tsp Kosher Salt
- 2/3 Cup Sweetened Condensed Milk (5 Oz)
- 12 Oz Mini Marshmallows
- 1 Tsp Vanilla Extract
- 7 Cups Rice Krispie Cereal (7 Oz)
Instructions
- Prepare a 9×13 inch pan by spraying it with butter cooking spray. Set aside.
- In a large pot over medium heat, melt the butter and add the kosher salt.
- Add the sweetened condensed milk to the melted butter and stir to combine.
- Add the mini marshmallows and stir over medium heat until completely melted, then remove from heat.
- Add the vanilla extract and stir it all together.
- Add the Rice Krispie cereal and mix until well combined.
- Pour the mixture into the prepared pan, wet your hands, and gently press the mixture into the pan.
- Let the treats cool at room temperature for an hour.
- Once cooled, remove from the pan and cut into squares. Enjoy!
Notes
Use a large pot for easy stirring, wet your hands to avoid sticking, and do not over-press the mixture into the pan.
Nutrition
- Serving Size: 1 square
- Calories: 240
- Sugar: 25g
- Sodium: 100mg
- Fat: 10g
- Saturated Fat: 6g
- Unsaturated Fat: 2g
- Trans Fat: 0g
- Carbohydrates: 39g
- Fiber: 0g
- Protein: 1g
- Cholesterol: 30mg