Snickerdoodle Cake: A Perfect Blend of Cinnamon and Sweetness
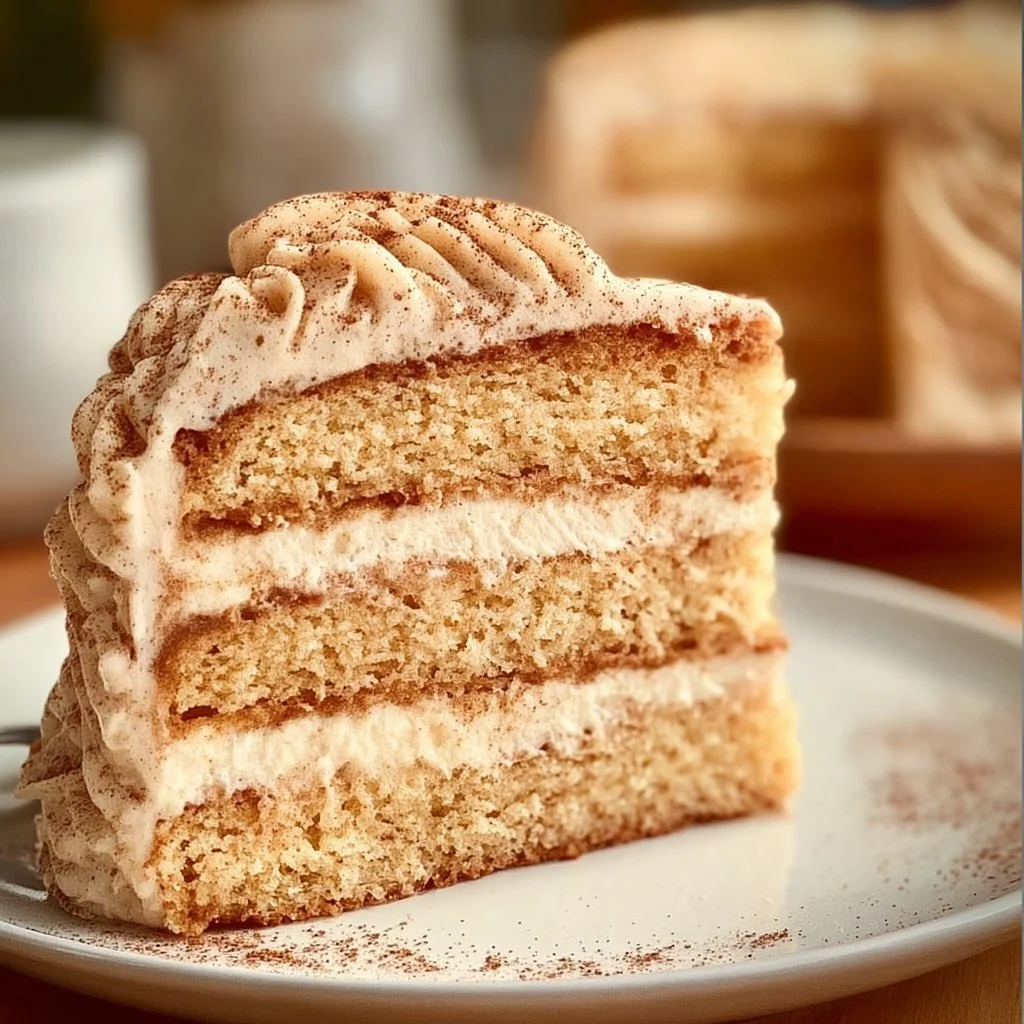
If you love the delightful flavor of snickerdoodle cookies, you will absolutely adore this Snickerdoodle Cake! With its soft, moist layers infused with cinnamon and the rich taste of caramel cream cheese frosting, this cake is a delightful twist on a classic favorite. Imagine the delightful aroma wafting through your home as you bake this scrumptious treat. It is perfect for celebrations, family gatherings, or simply as a sweet indulgence after dinner. Each bite offers a tender crumb complemented by the warmth of cinnamon and the sweet, creamy frosting. Gather your ingredients and let’s create a dessert that will undoubtedly become a cherished favorite.
Ingredients
- 2 1/2 cups all-purpose flour: Forms the cake’s base for a soft structure.
- 2 tsp baking powder: Helps the cake rise and achieve a light texture.
- 1/2 tsp salt: Enhances flavor and balances sweetness.
- 1 tsp ground cinnamon: Adds warmth and a signature snickerdoodle flavor.
- 1 cup unsalted butter, softened: Provides rich flavor and moisture.
- 1 1/2 cups granulated sugar: Sweetens the cake while contributing to its texture.
- 1 cup buttermilk: Adds moisture and a slight tang to the batter.
- 3 large eggs: Bind the ingredients together and add richness.
- 1 tsp vanilla extract: Enhances overall flavor with a sweet aroma.
- 1 cup powdered sugar: Sweetens the frosting while providing a smooth consistency.
- 4 oz cream cheese, softened: Creates a creamy texture for the frosting with a slight tang.
- 1/4 cup caramel sauce: Adds richness and a decadent finish.
Step-by-Step Instructions
- Preheat your oven to 350°F (175°C). Grease and flour three 8-inch round cake pans to ensure the cake does not stick.
- In a bowl, whisk together the flour, baking powder, salt, and cinnamon until well combined. This will ensure even distribution of the dry ingredients.
- In another large bowl, cream the softened butter and granulated sugar together until light and fluffy. This step is crucial for a tender cake.
- Add the eggs one at a time, mixing well after each addition. Then, mix in the vanilla extract for added flavor.
- Gradually alternate adding the dry ingredient mixture and buttermilk to the butter mixture. Start and end with the dry ingredients, mixing until just combined to avoid overmixing.
- Divide the batter evenly among the prepared cake pans. This helps ensure even baking.
- Bake for 25-30 minutes or until a toothpick inserted in the center of the cakes comes out clean. Keep an eye on them toward the end of the baking time.
- Allow the cakes to cool in the pans for about 10 minutes, then turn them out onto wire racks to cool completely.
- For the frosting, beat together the softened cream cheese and powdered sugar until smooth. Then, mix in the caramel sauce until fully combined.
- Once the cake layers are completely cool, frost each layer with the cream cheese frosting and drizzle with extra caramel sauce before serving.
Recipe Details
- Prep Time: 20 minutes
- Cook Time: 25-30 minutes
- Total Time: 55-60 minutes
- Servings: 12
- Calories: Approximately 380 per slice
Tips, Storage & Variations
- Tip: Make sure your butter is softened to room temperature for perfect creaming.
- Storage: Store the cake in an airtight container in the refrigerator for up to 5 days. Allow it to come to room temperature before serving.
- Freezing: This cake can be frozen for up to 3 months. Wrap it tightly in plastic wrap and then in aluminum foil to prevent freezer burn.
- Variations: You can add chopped nuts or chocolate chips to the batter for added texture. For a spicier cake, consider adding a pinch of nutmeg or ginger.
Frequently Asked Questions

-
Can I use regular milk instead of buttermilk?
Yes, you can use regular milk. To replicate buttermilk, add a tablespoon of vinegar or lemon juice to regular milk and let it sit for about 5 minutes. -
How can I make this cake gluten-free?
You can substitute all-purpose flour with a gluten-free flour blend designed for baking. -
Can I make the cake ahead of time?
Absolutely! You can bake the layers a day in advance and store them in the refrigerator overnight. -
How should I store leftover cake?
Keep leftovers in an airtight container in the refrigerator for up to 5 days. -
What can I use instead of cream cheese in the frosting?
You can use mascarpone cheese or a buttercream frosting if you prefer a different flavor. -
Can I make this cake into cupcakes?
Yes! The batter will work wonderfully for cupcakes. Adjust the baking time to 18-22 minutes.
People Also Ask
-
What is a snickerdoodle cake?
A snickerdoodle cake is a soft, spiced cake inspired by the flavors of snickerdoodle cookies, often featuring cinnamon and cream cheese frosting. -
Why is my snickerdoodle cake dry?
Overbaking can lead to a dry texture, so make sure to check the cake a few minutes before the recommended baking time. -
What can I pair with snickerdoodle cake?
It pairs beautifully with a scoop of vanilla ice cream or a dollop of whipped cream. -
Can I add chocolate chips to the snickerdoodle cake?
Yes, you can fold in chocolate chips for a delicious variety. -
Can I use salted butter in the cake?
Using salted butter is fine, just omit the added salt in the recipe. -
How do I know when the cake is done baking?
A toothpick inserted in the center of the cake should come out clean or with a few moist crumbs.
Conclusion
This Snickerdoodle Cake is sure to impress your family and friends with its cozy flavors and inviting aroma. Perfect for any occasion, it’s a cake that invites indulgence with every bite. I encourage you to give this recipe a try and share your cake-baking adventures with loved ones. Enjoy the wonderful sweetness that fills your kitchen, and may you savor every delightful moment spent enjoying this cake!
PrintSnickerdoodle Cake

A delightful cake inspired by snickerdoodle cookies, featuring soft layers and rich caramel cream cheese frosting.
- Prep Time: 20 minutes
- Cook Time: 30 minutes
- Total Time: 50 minutes
- Yield: 12 servings 1x
- Category: Dessert
- Method: Baking
- Cuisine: American
- Diet: Vegetarian
Ingredients
- 2 1/2 cups all-purpose flour
- 2 tsp baking powder
- 1/2 tsp salt
- 1 tsp ground cinnamon
- 1 cup unsalted butter, softened
- 1 1/2 cups granulated sugar
- 1 cup buttermilk
- 3 large eggs
- 1 tsp vanilla extract
- 1 cup powdered sugar
- 4 oz cream cheese, softened
- 1/4 cup caramel sauce
Instructions
- Preheat your oven to 350°F (175°C). Grease and flour three 8-inch round cake pans.
- In a bowl, whisk together the flour, baking powder, salt, and cinnamon until well combined.
- In another large bowl, cream the softened butter and granulated sugar together until light and fluffy.
- Add the eggs one at a time, mixing well after each addition, followed by the vanilla extract.
- Gradually alternate adding the dry mixture and buttermilk to the butter mixture, starting and ending with dry ingredients.
- Divide the batter evenly among the prepared cake pans.
- Bake for 25-30 minutes, or until a toothpick inserted comes out clean.
- Allow the cakes to cool in the pans for about 10 minutes, then turn them out onto wire racks.
- For the frosting, beat together the cream cheese and powdered sugar until smooth, then mix in the caramel sauce.
- Frost each cake layer with the cream cheese frosting and drizzle with extra caramel sauce before serving.
Notes
Store leftovers in an airtight container in the refrigerator for up to 5 days. Allow to come to room temperature before serving.
Nutrition
- Serving Size: 1 slice
- Calories: 380
- Sugar: 35g
- Sodium: 200mg
- Fat: 25g
- Saturated Fat: 15g
- Unsaturated Fat: 7g
- Trans Fat: 0g
- Carbohydrates: 45g
- Fiber: 1g
- Protein: 5g
- Cholesterol: 80mg